Essential Beginner Lighting Tips for Photography Beginners
- Simon Price

- Mar 2
- 4 min read
When I first picked up my camera, lighting was one of those tricky things that felt like a secret code only pros could crack. But guess what? It’s not as complicated as it seems. Lighting is everything in photography. It can make your photos pop or fall flat. So, if you’re just starting out, mastering some essential lighting techniques will seriously up your game. Let’s dive into some beginner lighting tips that will help you take stunning photos, whether you’re shooting portraits, families, or headshots.
Why Lighting Matters: Beginner Lighting Tips You Can’t Ignore
Lighting sets the mood, highlights your subject, and adds depth to your photos. Without good lighting, even the best camera won’t save your shot. The good news? You don’t need fancy gear to get great light. Natural light is your best friend, especially when you’re starting out.
Here are a few beginner lighting tips to keep in mind:
Use natural light whenever possible. Early morning or late afternoon light (the golden hour) is soft and flattering.
Avoid harsh midday sun. It creates strong shadows and highlights that can be unflattering.
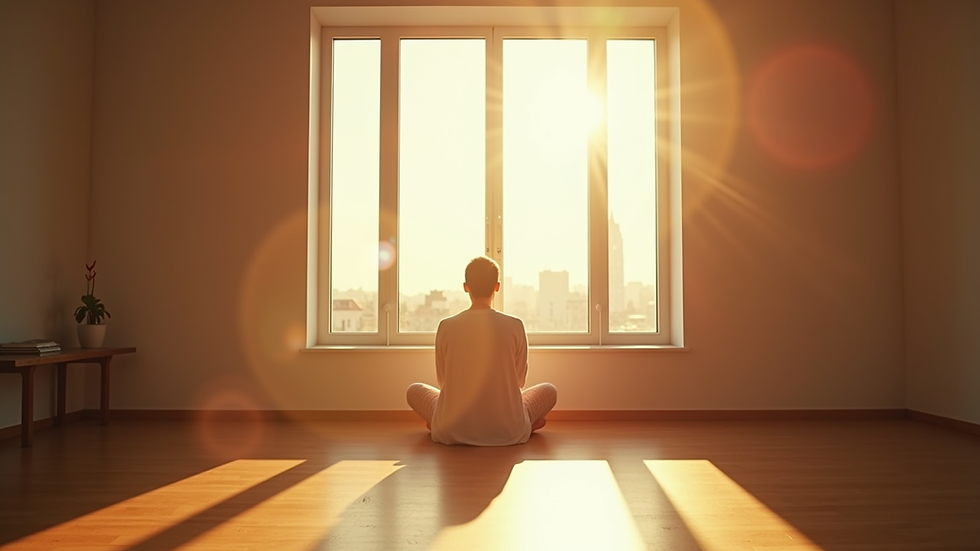
Position your subject near a window. This gives you beautiful, even light without needing extra equipment.
Experiment with shadows. Shadows can add drama and texture to your photos.
Try moving your subject around the light source and see how the shadows and highlights change. This simple practice will teach you a lot about how light works.

Getting to Know Your Light Sources
Understanding different types of light sources is key. You’ll encounter natural light, artificial light, and sometimes a mix of both. Each has its own characteristics and challenges.
Natural Light: Comes from the sun. It changes throughout the day and can be soft or harsh.
Artificial Light: Includes lamps, LED panels, and flashes. It’s controllable but can sometimes look unnatural if not used well.
Mixed Light: When natural and artificial light combine, it can create colour balance issues, so watch out for that.
For beginners, I recommend starting with natural light. It’s free, easy to work with, and teaches you the basics of how light behaves.
Soft vs. Hard Light
Soft light creates gentle shadows and smooth transitions between light and dark areas. Think of a cloudy day or light filtered through a curtain. Hard light, on the other hand, produces sharp shadows and high contrast, like direct sunlight on a clear day.
Try this simple test: Hold a piece of paper near a window and see how the light falls on it. Move it closer or further away to notice the difference between soft and hard light.
Simple Lighting Setups You Can Try at Home
You don’t need a studio to practice lighting. Here are some easy setups that will help you understand how to control light:
Window Light Portraits
Place your subject near a large window with indirect sunlight. Position them so the light hits their face from the side for a natural, flattering look.
Reflector Magic
Use a white poster board or a reflector to bounce light back onto your subject’s face. This fills in shadows and evens out the light.
Backlighting for Drama
Position your subject with the light source behind them. This creates a glowing outline and can add a dreamy effect. Just be careful with exposure settings.
DIY Diffuser
If the sunlight is too harsh, soften it by placing a thin white cloth or shower curtain between the light and your subject.
These setups are perfect for practising and getting comfortable with how light shapes your images.

Tips for Portrait and Family Photography Lighting
When photographing people, lighting is even more important because it affects skin tones and expressions. Here are some tips that work wonders:
Catchlights in the eyes: Position your subject so the light source creates a sparkle in their eyes. It brings life to portraits.
Avoid direct flash: It can cause harsh shadows and red-eye. Instead, bounce your flash off a wall or ceiling.
Use natural light for families: Kids and groups look best in soft, natural light. Try shooting outdoors in the shade or indoors near a window.
Watch the background: Make sure the background isn’t too bright or distracting compared to your subject.
Remember, the goal is to make your subjects feel comfortable. When they’re relaxed, the lighting just enhances their natural charm.
How to Master Photography Lighting Techniques for Beginners
If you want to dive deeper, check out this photography lighting techniques for beginners guide. It covers everything from basic setups to creative lighting ideas. But here’s a quick summary of what I’ve learned:
Always observe your light source and how it interacts with your subject.
Practice moving your subject and camera to find the best angles.
Experiment with shadows and highlights to add depth.
Use simple tools like reflectors and diffusers to control light.
Don’t be afraid to try different times of day for varied lighting effects.
Lighting is a skill you develop over time. The more you play with it, the more intuitive it becomes.
Bringing It All Together: Your Next Steps in Lighting
Now that you’ve got some solid beginner lighting tips, it’s time to put them into practice. Start small with natural light and simple setups. Take photos of friends, family, or even objects around your home. Notice how changing the light changes the mood and feel of your shots.
If you’re in Sleaford or nearby, I’m here to help you capture those perfect moments with the right lighting. Whether it’s portraits, family photos, or professional headshots, good lighting makes all the difference. Remember, great photos start with great light - and you’ve got this!
Keep experimenting, keep shooting, and most importantly, have fun with your photography journey. Lighting is your secret weapon, and now you’re ready to wield it like a pro.
Happy shooting!


Comments