


Beginner's Guide to Photography Lighting: Mastering the Basics

Photography lighting can feel like a big, mysterious topic when you're just starting out. But trust me, it doesn’t have to be complicated. Lighting is one of the most important parts of creating beautiful photos, and once you get the hang of it, your pictures will look so much better. Whether you’re snapping portraits, family photos, or headshots, understanding lighting will make a huge difference.
Let’s dive into the world of lighting together. I’ll walk you through the essentials, share some practical tips, and help you feel confident about using light to your advantage. Ready? Let’s get started!
Why Beginner Photography Lighting Matters
Lighting is the magic ingredient in photography. It shapes your subject, sets the mood, and can even tell a story. When you’re just starting out, it’s easy to overlook how much lighting affects your photos. But once you start paying attention, you’ll see how different lighting setups can completely change the look and feel of your images.
Good lighting can:
Highlight your subject’s best features
Create depth and dimension
Add warmth or coolness to the scene
Help you avoid harsh shadows or blown-out highlights
For anyone taking photos in Sleaford or nearby areas, getting lighting right means your portraits and family shots will look professional and inviting. It’s all about making your photos feel natural and comfortable, just like the moments you want to capture.

Understanding the Basics of Beginner Photography Lighting
Let’s break down the basics so you can start experimenting with confidence. There are a few key concepts to know:
1. Natural Light vs Artificial Light
Natural light comes from the sun. It’s free, beautiful, and changes throughout the day. Early morning and late afternoon light (often called golden hour) is soft and warm, perfect for portraits.
Artificial light includes anything you add yourself, like lamps, flashes, or studio lights. These give you more control, especially indoors or when natural light isn’t enough.
2. Direction of Light
Where the light comes from changes everything. Here are some common directions:
Front lighting: Light hits your subject from the front, reducing shadows. It’s simple but can look flat.
Side lighting: Light comes from the side, creating shadows and depth. Great for adding drama.
Backlighting: Light shines from behind your subject, creating silhouettes or a glowing edge.
Top lighting: Light from above can create harsh shadows under eyes and nose, so use carefully.
3. Quality of Light
Soft light is diffused and gentle, like on a cloudy day or through a softbox. It’s flattering for portraits.
Hard light is direct and creates strong shadows, like midday sun or a bare bulb. It can be dramatic but tricky.
4. Colour Temperature
Light has colour too. Warm light (yellow/orange) feels cosy, while cool light (blue) feels fresh or clinical. You can adjust this in-camera or in editing.
Simple Lighting Setups You Can Try Today
You don’t need fancy gear to start playing with lighting. Here are some easy setups that work well for beginners:
Window Light Portraits
One of my favourite ways to get beautiful light is to use a window. Find a spot where natural light comes in softly, like a north-facing window or during the morning.
Position your subject near the window, facing the light or slightly turned.
Use a white reflector (even a piece of white card) on the opposite side to bounce light back and soften shadows.
Avoid direct sunlight through the window, which can be harsh.
This setup is perfect for family photos or headshots that feel natural and warm.
Using a Reflector
Reflectors are simple tools that bounce light back onto your subject. You can buy one or make your own with foil or white cardboard.
Place the reflector opposite your light source.
Adjust the angle to fill in shadows on your subject’s face.
Reflectors are great for outdoor shoots when the sun creates strong shadows.
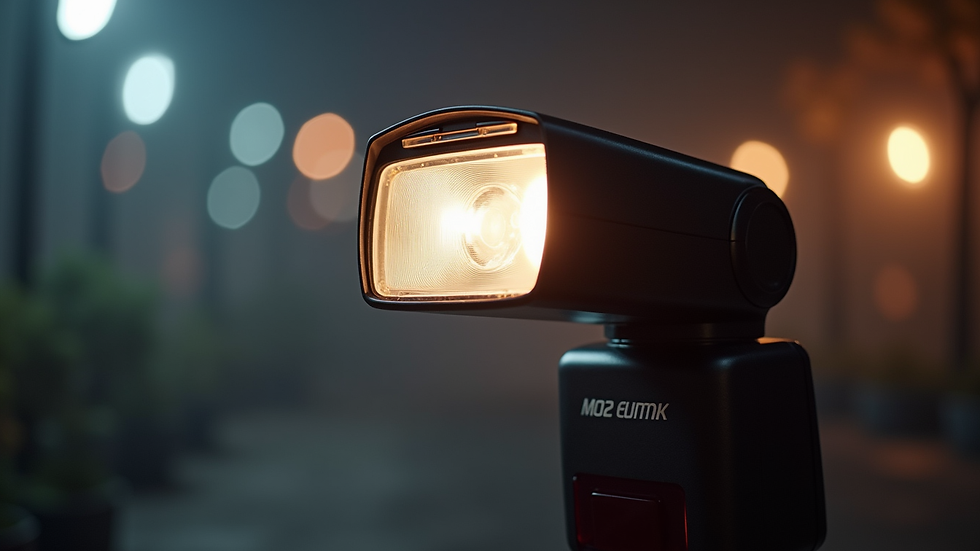
Basic Off-Camera Flash
If you have a flash, try moving it off your camera and using it as a key light.
Use a diffuser or bounce the flash off a wall or ceiling to soften the light.
Position the flash at a 45-degree angle to your subject for natural-looking shadows.
This technique is handy for indoor portraits or when natural light is low.
Tips to Improve Your Lighting Skills Quickly
Lighting is a skill you build by practising and observing. Here are some tips to help you improve fast:
Experiment with different times of day: Notice how morning, midday, and evening light change your photos.
Move your subject and light source: Small changes can make a big difference.
Use simple tools: Reflectors, diffusers, and even white sheets can help control light.
Look for shadows and highlights: Shadows add depth, but too many can be distracting.
Practice with one light source first: Mastering one light is easier than juggling many.
Review your photos critically: What do you like? What could be better?
If you want to dive deeper, check out this helpful resource on photography lighting techniques for beginners to get more ideas and inspiration.
Making Your Photos Shine in Sleaford and Beyond
Lighting is your secret weapon for creating photos that stand out. Whether you’re capturing a family gathering, a professional headshot, or a casual portrait, good lighting helps your subject look their best and feel comfortable.
Remember, you don’t need expensive equipment or a studio to get great results. Start with natural light, play with angles, and add simple tools like reflectors. Over time, you’ll develop an eye for light that makes your photos pop.
If you’re looking for a local photographer who understands the importance of lighting and making you feel at ease, I’m here to help. Together, we can create images that you’ll love and cherish.
Happy shooting!


Comments